You can add a field to the grid of contracts simply by clicking on its name in the tabbed box on the left-hand side of the screen. The first screenshot shows a (filtered) grid of contracts containing three different types of field.
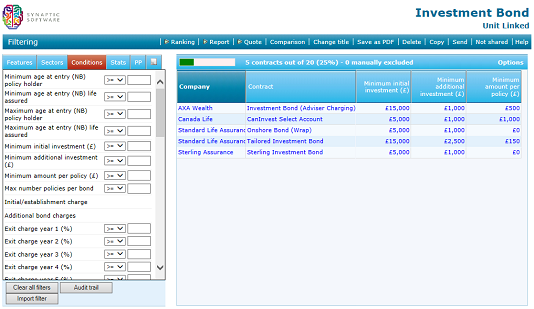
You can remove fields either by clicking on the name again, or by clicking the right mouse button over the column header in the grid and choosing remove from grid.
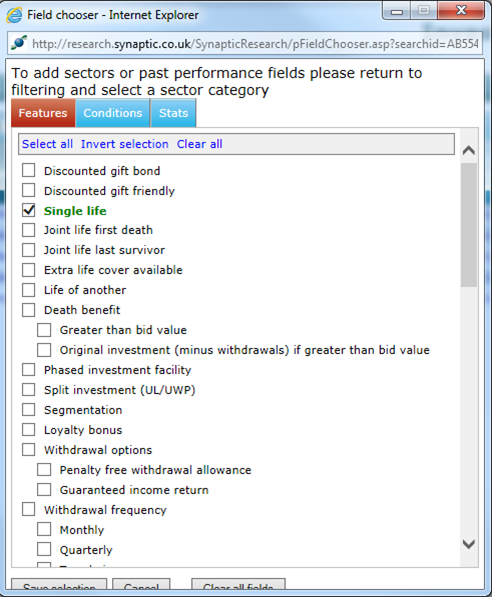
You can add several fields to the grid at once by clicking on the Options link in the top-right of the grid, and then clicking on Field chooser. This displays the pop-up window, illustrated by the second screenshot, where you simply tick all the fields you want to display in the grid (note that the Field Chooser window has the same tabs as the filtering window – you can choose from data items on any of the tabs).
N.B. If you want to compare all the features of the contracts, it’s quicker to use the Comparison tool on the menu bar below the page’s title. This is described and illustrated in the section below about manually selecting contracts.
As in any spreadsheet-style software, you can sort the grid simply by clicking on a column header. Clicking on the header again re-sorts in descending order. Alternatively, you can right-click the column header to be shown a contact menu that offers the choice of sorting the column by ascending or descending values (as well as the facility to remove the column from the grid).
Once you have added a column to the grid, you can filter on its values by clicking on one of the cells in the column.

