This area is accessed from the left hand menu underneath the Organisation Structure tab by selecting the Service levels tab under the Contacts section. Under this area there are four default service levels which can be changed to suit the needs of the business.

If you wish to override these service levels, click on the override button at the top of the screen. Options to override the existing levels will be given. Click yes to override.

You can then make the selection as to the service level you wish to change.
If you as the administrator wish to create your own service levels, the new button simply needs to selected on the ribbon bar at the top of the screen, otherwise they can be deleted or reverted back to the original service levels.
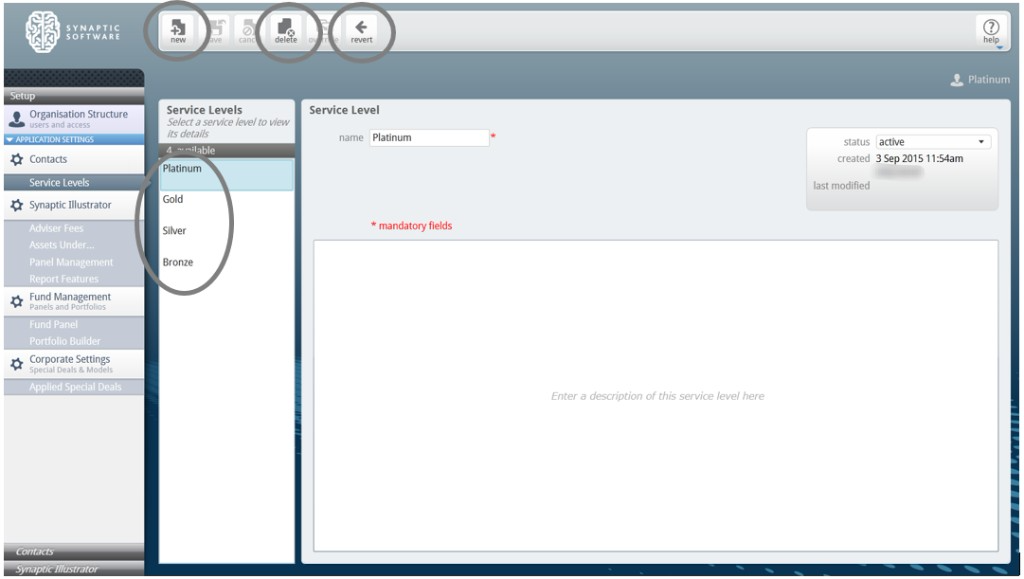
Once the new button has been selected, you will have the option to name the new service level, make it active by using the status field and entering a description of the service level if required.
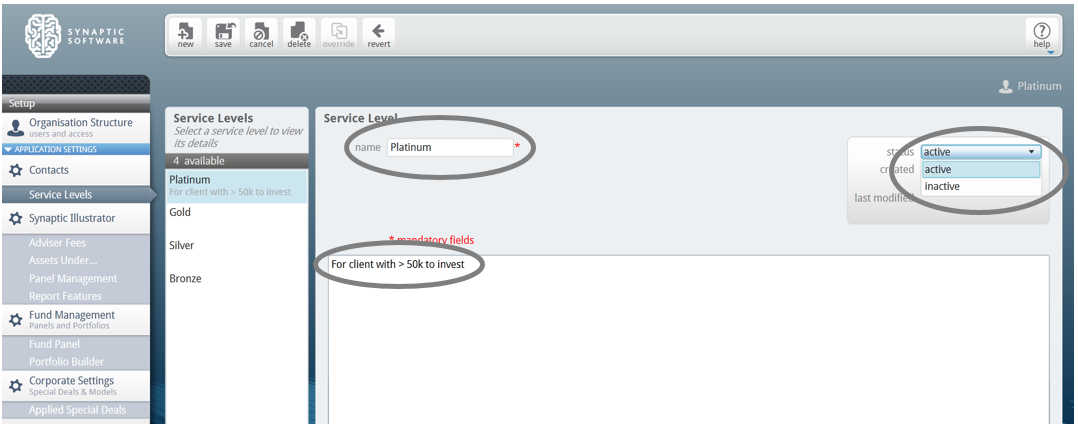
Remember to click on the save button on the ribbon bar to complete the process.
The primary use of the service levels is to drive the adviser fees within the system. It can be also be used to record the description of the service provided to the client.
Please note the ‘can override service levels’ box must be ticked within the organisation structure in order for this function to be carried out. Refer to the previous section for more information.
Please note that as an administrator this would be all that would be necessary to carry out within the Comparator/Illustrator interface for this guide. All further functionality would be within the Synaptic Client interface.
Any additional administrative functionality should be completed within the Synaptic Client interface as indicated in section 4.2 below.