The audit trail records all the contracts and criteria that has been selected. It clearly shows what contracts have been excluded and what criteria selected excluded them.
The audit trail is only available in the Filtering screen and can be access by selecting the Audit trail button at the bottom of the features list:
A screen will be displayed showing the audit trail:
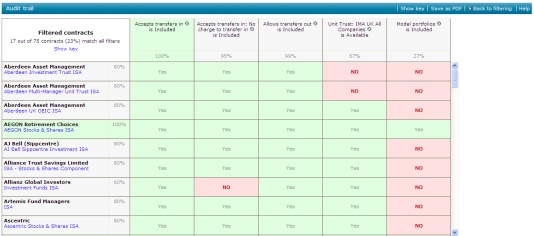
All the contracts you are researching, including those that have been filtered out, are displayed down the left hand side of the grid. The top of the grid lists the criteria being used to filter.
The 'Yes' or 'No' indicates whether or not each contract meets each individual criteria. Contracts are only included in the main research grid if they have a 'Yes' in every column.
Note - If you want to see why a contract is displaying 'No', select 'No' and a pop up window will be displayed giving the details where available.
The percentages in each row next to the contract indicate how much of the filtering criteria each contract matches.
The percentages in each column under the criteria indicates how many contracts meet the criteria.
You can remove research criteria, without returning to the main screen, by clicking on the X icon at the top of the column.
Manually-excluded contracts in the audit trail
By default the audit trail does not display contracts which have been manually excluded and all the percentages shown are calculated accordingly.
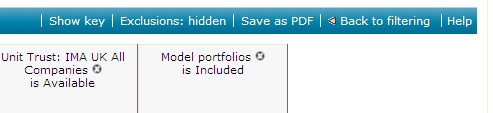
If you have set up some manual exclusions, the audit trail's menu bar will display Exclusions: hidden:

Selecting Exclusions: hidden will recalculate the report with the manually-excluded contracts taken into account:
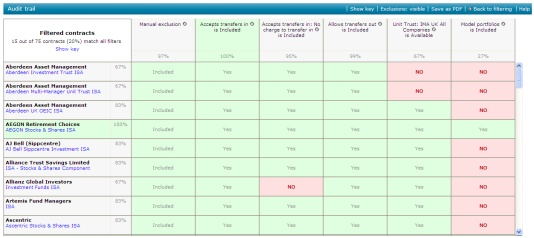
This will change all the percentages and adds a new column called Manual exclusion indicating which contracts have been manually excluded.
For more information on manually excluding contracts, please refer to the relevant article.
Printing the audit trail
The audit trail report can be saved as a PDF by selecting Save as PDF from the menu bar: