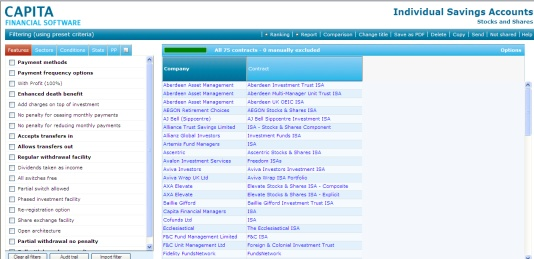
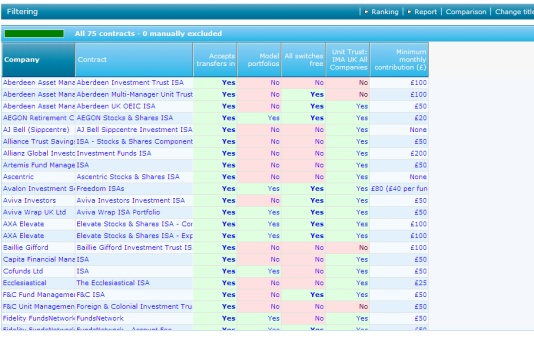
When you start a piece of research, the filtering screen only displays the company and name of the contract:
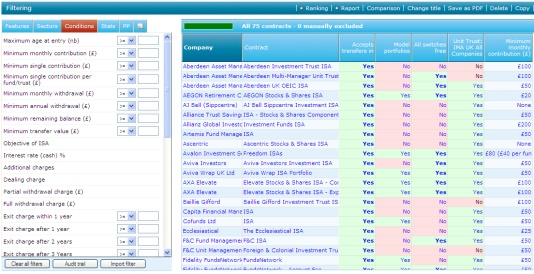
Any number of data fields can be added to the grid to view by simply selecting (clicking on) the field name from any of the tabs on the left hand side of the grid:
The Field chooser
The section above explains how to add fields to the grid one at a time. Alternatively, you can add multiple fields at once by using the field chooser option.
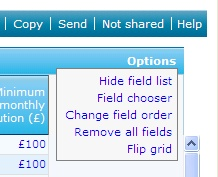
Select Options from the top right of the screen and Field chooser:

A pop up window will be displayed listing all the fields to choose from:
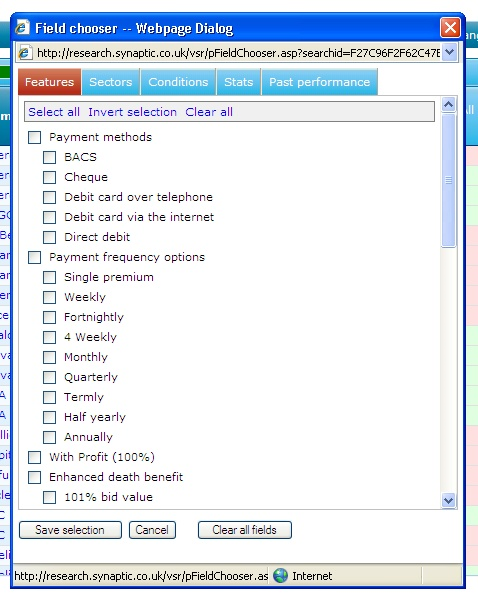
Simply tick the fields you want to include in the grid and select save selection. The fields will then be displayed in the grid as seen earlier in this article.
If you want to view all the fields we would recommend you use the Comparison tool rather than adding all fields to the grid. This is due to the amount of data it can result in the system running slowly. Please refer to the Comparison tool article for more information.
Removing fields from the grid
Selecting (clicking on) the field name from the list on the left hand side will remove the column of data from the grid.
You can also remove a column of data by right clicking on the column header and selecting Remove from grid from the pop up menu:

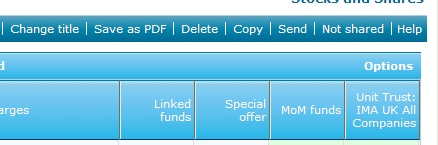
You can also remove all the columns that have been added by selecting Options from the top right of the screen and Remove all fields:
Hiding the list of fields
If you added a large number of fields and you are having to use the scroll bar along the bottom of the screen to view all the columns, you can make more space on the screen by removing the field list on the left hand side.
Select Options from the top right of the screen, as shown above and select Hide field list:
The list can be re-displayed by selecting Options and Show field list.
Sorting the grid
By default the grid of contacts is sorted by the company name and then by contract name. The field on which the grid is currently sorted is highlighted in a darker blue in the column heading.
You can sort the grid on a different column simply by selecting the column heading.
Alternatively, you can right click over the column heading and select either Sort ascending or Sort descending:

Changing the order of data fields in the grid
Once you have added fields to the research grid, you can change the order of the columns by selecting Options from the top right of the screen and Change field order. A pop up window will display the fields you are currently viewing in the grid:
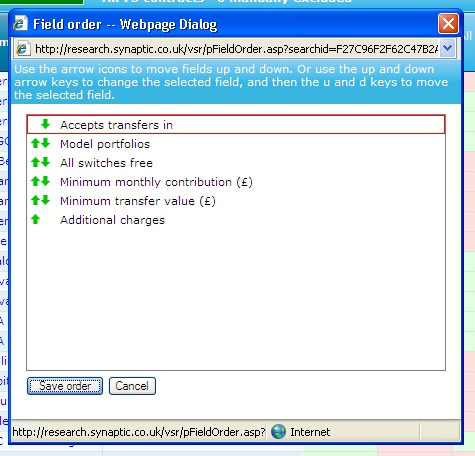
You can change a field's position by selecting the up and down arrows next to the field's name.
Once you are happy with the revised order of fields, select Save order.
You will be returned to the grid with the fields in their new order.
Flipping the grid
Note - Flipping the grid only applies to product research. It is not available on fund research.
When you are dealing with a small number of contracts and a large number of data fields. It can be easier to view the grid with the contracts along the top rather than down the side.
The grid can be flipped by selecting Options from the top right of the screen and Flip grid:

When in "Flipped" mode the grid continues to be usable as before, except you can no longer sort by clicking on the column headings.
Filtering on field values in the grid
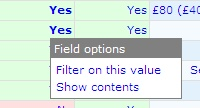
When you have added a data column to the grid you can filter the grid from the values displayed. For example the data column may contain a mixture of 'Yes' and 'No', if you want to filter on the 'Yes', simply right click on 'Yes' and select Filter on this value:
This can be useful when you have added fields to the grid to see which contracts offer that feature and then only filter on the relevant value.
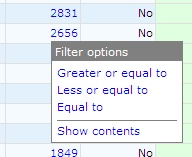
If you right click on a numeric field you get different options in the pop up window to perform the filter:
You cannot filter on fields which are purely textual with notes about the contract. If you select these fields a pop up window will display the notes in full.
Saving and exporting the research grid
The research grid, including all the data fields that have been added, can be saved in PDF format by selecting Save as PDF from the menu bar: