Those fields marked with a * are the minimum required to complete the process, however if you want to use the client throughout all the applications in the suite then it is recommended that you complete all the Personal Details fields.
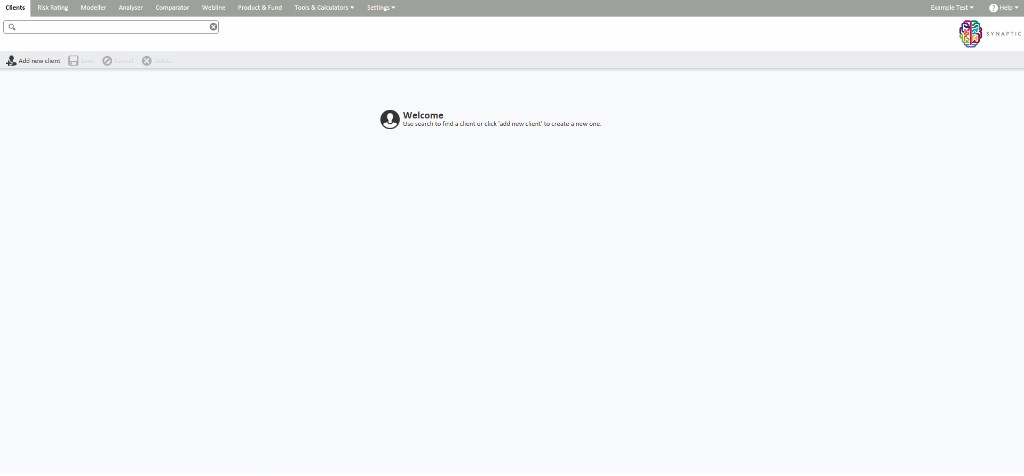
An example of a new client is shown below:

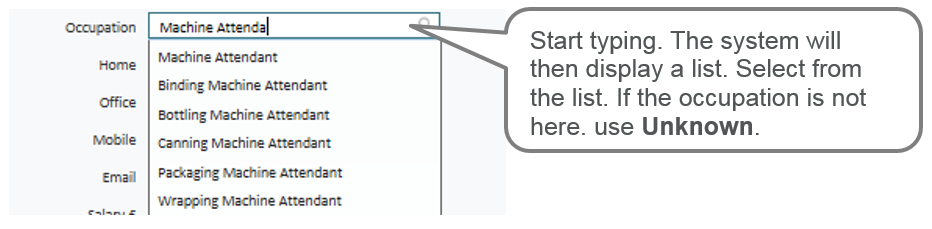
If recording the client’s occupation, start typing the first few letters of the occupation and a drop down list with matching occupations will appear:
You can also select pre-set Service Levels from the drop down menu. Administrator licence holders will be able to amend the Service Levels on the Synaptic Settings tab if required. See the Synaptic Client Administrator Guide for more details.
The External Identifier field at the bottom of the screen is for use with a back office system that already integrates with Synaptic.
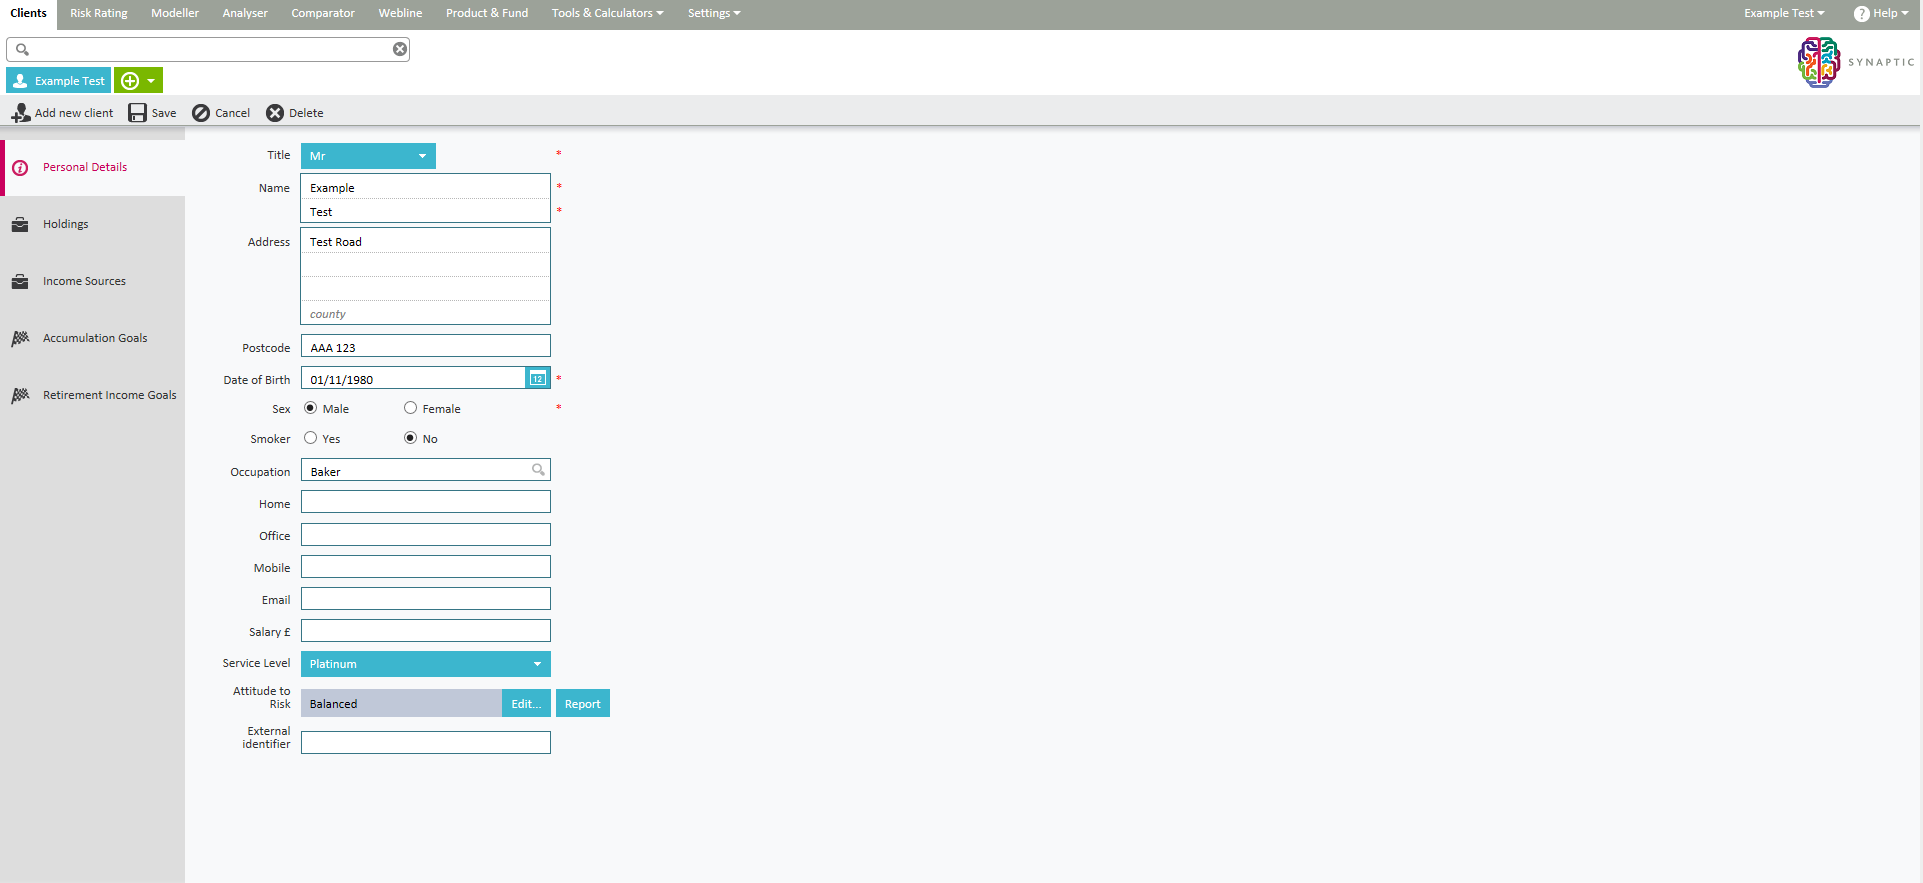
Once all the required fields have been completed, use the Save button at the top of the screen: